Part 2 is about the fine detail.
The following are 100% close-ups of the images in part 1, most important ones presented first as a group.
If you are reading this without having read part 1, you’ve missed the methodology, so I suggest reading that first to understand under what constraints these images were rendered.


If I had to rank them by sharpness, I’d say (1) Capture One Pro, (2) HDR Projects Professional, (3) Silkypix, (4) Cyberlink, (5) darktable, (6) macOS Preview, (6) Phocus (identical to Preview), (8) Iridient, (9) Aperture, (10) RPP, (11) On1 Photo RAW. It’s very close between those latter six. After that, it’s (12) Photo Ninja, (13) Photivo, and then I ran out of squinting energy, although I’m pretty sure that LightZone was left at the bottom of the pile.
Those using Affinity Photo should use a dedicated RAW converter for that purpose. Affinity is a great Photoshop replacement, but not as strong yet on the demosaicking side.
Hope this helps some people.
Update:
And now for the second group.


I need to give a small preamble before delving into the second group. Some programs automatically applied lens correction. Typically, center and edge sharpness suffer when lens corrections are applied, so before I go further, I should note that imo, Pentax DCU and Ashampoo Photo Commander performed lens correction.
Of the second group, Polarr and Photolemur can fairly be described as garbage. Do NOT use Polarr or Photolemur for RAW conversion. Really don’t. Luminar is also pretty awful.
Between Pentax, PhotoLine and digiKam, it was hard to decide. Pentax DCU looks oversharpened and is a clear step behind Silkypix, although supposedly powered by the same engine (I feel like I’ve just disproved that), and both programs seemed to perform lens correction, so the difference in sharpness isn’t because of that. PhotoLine has a certain matte look to it that I could see becoming someone’s signature style. DigiKam might have genuinely lost some fine detail, so I’d rate that lowest of the group. So I would rate digiKam bottom of the three.
Color Projects 6 Professional, the only upgraded version I included in the second group because the rendering had changed completely since version 5, performed clearly ahead of PhotoLine and probably just ahead of Pentax, although they might be neck-to-neck without Pentax’ lens correction. Realising that, I thought that perhaps Pentax is really ahead of PhotoLine, although that was difficult to see in direct comparison because of the air of oversharpening of the Pentax image. Aurora HDR is a teensy weensy bit ahead of PhotoLine.
Output from Pixelmator was identical to macOS Preview, so fairly good. Interestingly, although being a Windows program and so clearly not relying on the same engine, Zoner Photo Studio’s output was identical in sharpness – only tonality differed between those two (or three). Ashampoo had much the same detail, but looked oversharpened – presumably a consequence of attempting to compensate for the effects of lens correction. In my opinion, ACDSee looked crisper than Preview, making it the leader of the group. However, it’s still a far cry behind Capture One!
So, in conclusion, the second group rankings are (1) ACDSee, (joint 2nd) Zoner, (joint 2nd) Pixelmator, (close 4th) Ashampoo, (5) Color Projects 6, (6) Pentax DCU, (7) Aurora HDR, (8) PhotoLine, (9) digiKam, and the rest unworthy of mention.
Overall, though, ACDSee is close to, or slightly behind, darktable, and would only be rated 6th. Zoner and Pixelmator would be joint 7th with macOS Preview and Hasselblad Phocus, while Iridient and Ashampoo would be left vying for 10th place. So the original stand-out group of Capture One, HDR Projects Pro, Silkypix and Cyberlink is maintained in that order, and we sense that there was good reason that the second group was not part of the first version of the comparison, although I do like to include them in order to be as comprehensive as possible – Skylum products in particular, in spite of the hype the company is attempting to generate, do not seem to have a solid demosaicking engine behind them, and would in fact do better if they borrowed the one from macOS. (Basically, free is better than Skylum.)
The last question I’m sure some will ask is, how did DxO PhotoLab perform overall? In the first group, it did not make the ranking, and comparing it to the second, it’s very close to Aurora HDR. So in the bottom 15% if we include the programs I called garbage. As a saving grace, I should mention that there were two programs I found that were so bad that I did not include them in the review at all.
Update 2020/08/16:
Perfectly Clear 3.10 produced jaggies in the JPEG export in all of the 15 presets I tested, including the default. I strongly recommend that you deactivate sharpening, as this reduces the scale of the problem and makes the bokeh less harsh (see below). It seems you will have to do this every time – I was able to save the altered default as a preset, but I could not set it to be the new default when opening a file. Overwriting the original preset did not seem possible within the program. So, as a minimum, for every file you open, you will have to select your own new preset to get rid of the excessive sharpening – about the same amount of work as simply unchecking sharpening every time.
The same problem needs to be worked around when using Perfectly Clear to process already-demosaicked images, e.g. Capture One output.
Additionally, the demosaicker produced a lot of diagonal texture, digital grain and colour artefacts.
Mini-update 26 April 2021: Because of the current discussions over DxO PureRaw, I’m adding the excerpt from DxO PhotoLab 3, which had a marked improvement in sharpness over the predecessor, with default settings:
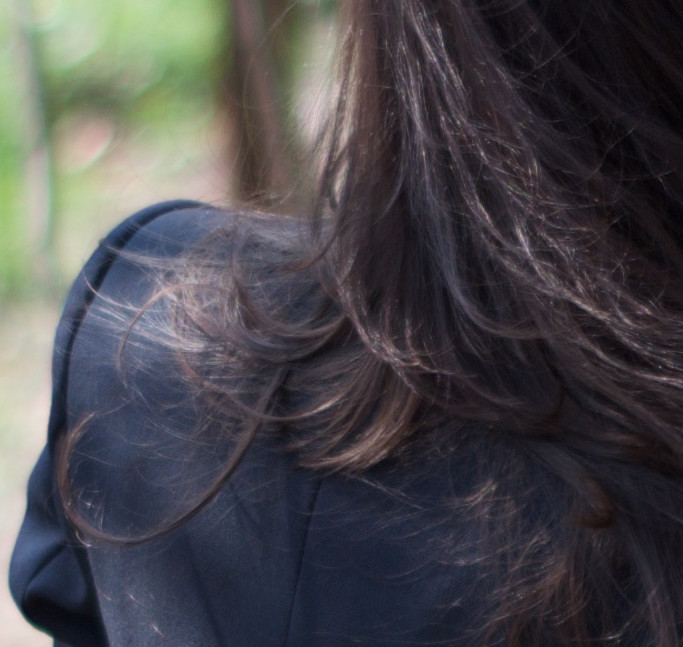
 DxO PhotoLab 3 (3.3.0 Build 4391) (above)
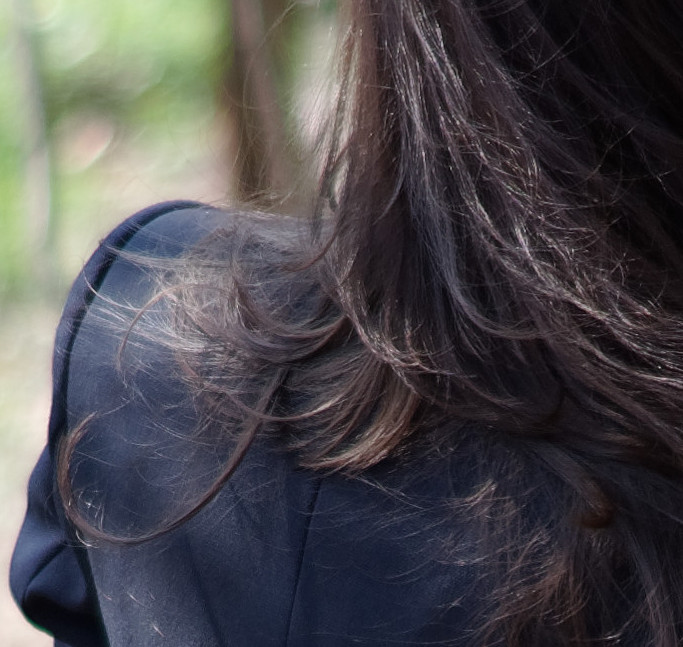

Regarding DxO Photolab, if you haven’t allowed the camera / lens profile to be downloaded you have barely used the program at all – try it, you’ll like it!
I’ve been a user since at least version 7, when it was still DxO Optics Pro. I know the program very well. I’m still highly critical of the way it’s being marketed. Capture One has a very different approach, and seems to currently be eating most people’s pies, with the exception of the budget priced options Exposure, Luminar and Photo RAW (DxO, due to frequent promotions, seems to be hanging somewhere in the middle).
With respect to how they operate their camera-lens module business model, I have a lot of comments about that, and this comment box isn’t the best place for them. We’ll see if I’ll write them up as a big critical blog post.
You are amazing guys , i just love it
Thank you. Just one person here, but I’m happy to pass your comments along to the rest of myself. 😉